
Project Setup
Project setup can be handled in different ways, in steps, iteratively, or all at once. There are couple approaches available with Bluerithm.
Delegate to an AI Agent
Use agentic AI tools, like through the Bluerithm + Claude Cowork integration or any other agentic tool that can use the Bluerithm MCP server. This is the most productive option when doing large scale project setup, especially when lots of customization on checklists and test forms needs to occur.
Use the Step by Step Project Setup Tools
This process can be summarized as follows.
- Add new project
- Add the work order
- Add equipment type templates
- Add equipment
- Add project-level work templates
- Add report templates
- Add dashboards (when your account has project dashboards)
- Add issue settings
The Project Setup Tools guide project setup and make pulling from your template content easy. There are additional optional steps to customize a project with template content along the way, as well as make project-specific updates to template content once it's copied into your project.

Add a new project
Click ADD from the Projects page.

Enter the general project details, then click the CONFIRM button.

The Project Setup Tools open on the first step, Add Workflow, and guide the next steps: equipment types, equipment, project-level work, reports, dashboards and issue settings. You can also open them later from Project Setup in the project's left menu.

Tip: Most of the pages in the project setup tools work by showing a list of template content on the left, and project content on the right as shown in the following steps. Template content is copied from the list on the left to the project which is shown on the right.
Add the work order
Select the project template from the dropdown on the left, tick the work categories the project needs, then click COPY INTO PROJECT. They arrive in the template's order, with what each can start after and its gate. Do this before adding equipment types or work: a category that already has work in the project keeps its own place and settings.

More: How do I copy a template's work order into a new project?
Add equipment types

Select the project template from the dropdown on the left that you want to copy template content from. Select the equipment types needed for the current project, then the COPY INTO PROJECT button.
If the selected equipment types have template work attached to them, it will carry over to the project with the equipment types.
You can make edits to the work on the types in the project now (right side of the page) to make it project-specific, if needed.
Now, whenever new equipment of a type is added to the project it will automatically get a copy of the work attached to its corresponding type.

Add equipment
Equipment can be added in the same ways folders are, with the configuration form being the most common.
To add a folder by hand, see How do I add a folder to my project?
Equipment can also be added individually and with the COBie tools.
Add project-level work
This will commonly be activities and workflows like design phase activity, close out activity, meeting records, site reports, etc.
Select the work to add to the project on the left, then click COPY INTO PROJECT.

Add reports
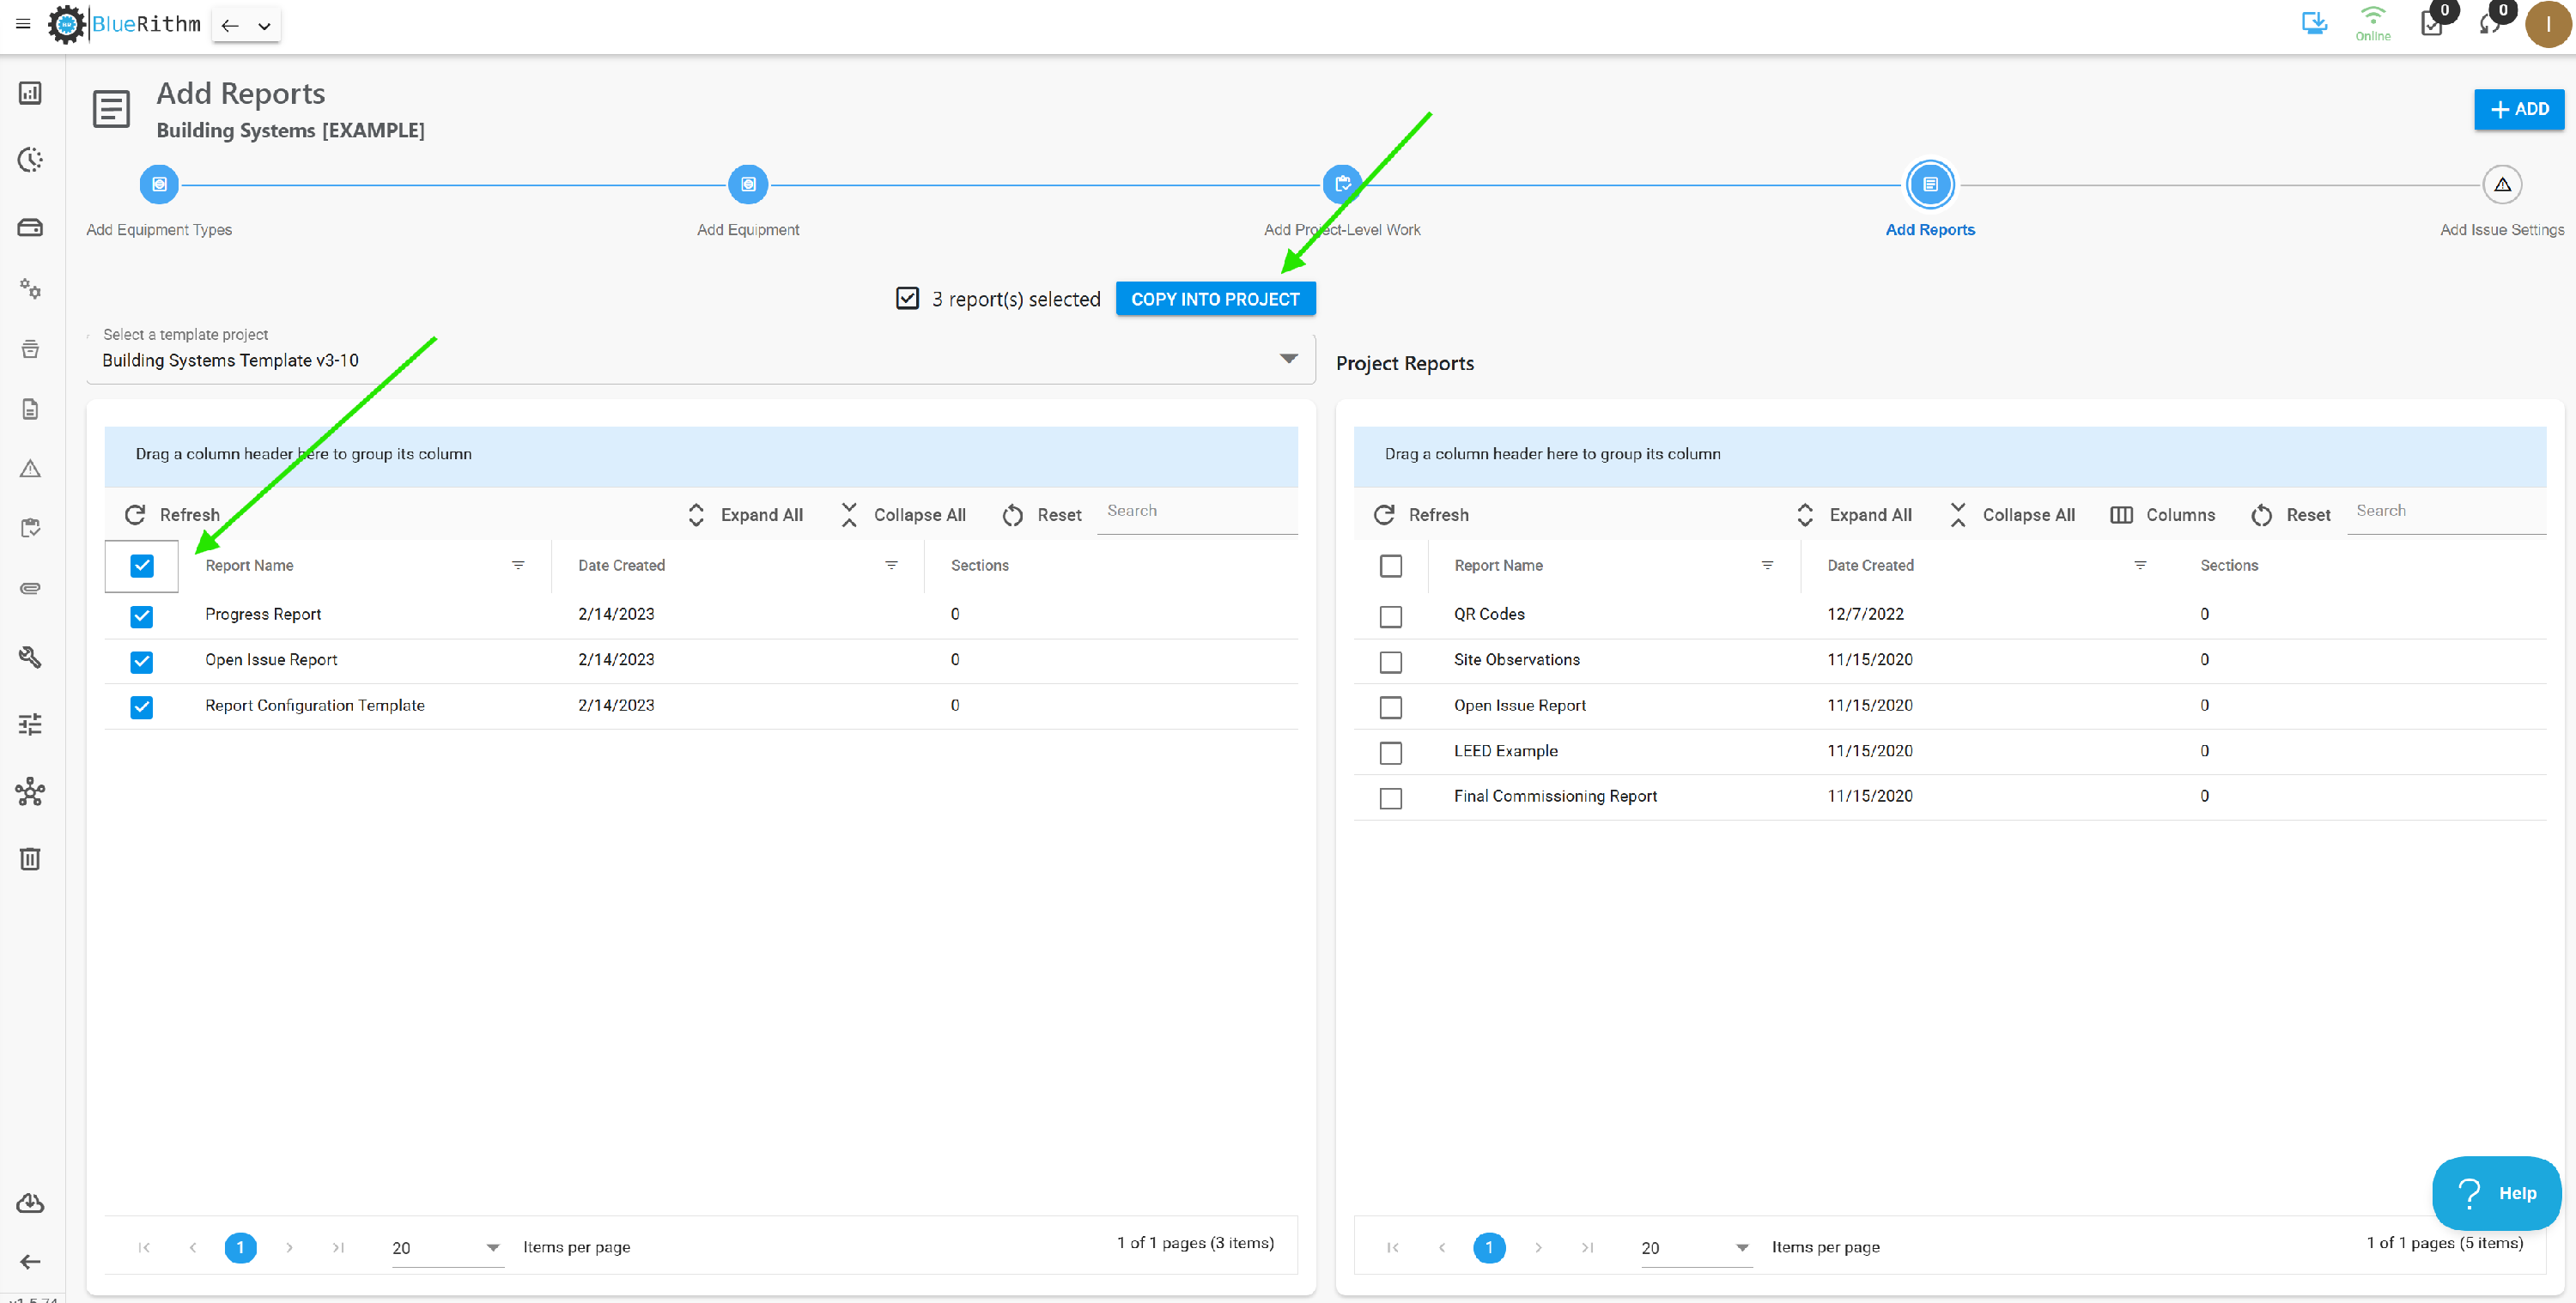
Select your project template on the left and choose the report template(s) you want to copy into the project. Then click COPY INTO PROJECT.
The next step, Add Dashboards, copies the dashboards built on your template the same way, and the copies show the project's own numbers: see How do I copy dashboards from a template project? It shows when your account has project dashboards.
Add issue settings
Select the template project, then the issue settings you wish to copy into your project, the COPY INTO PROJECT.
